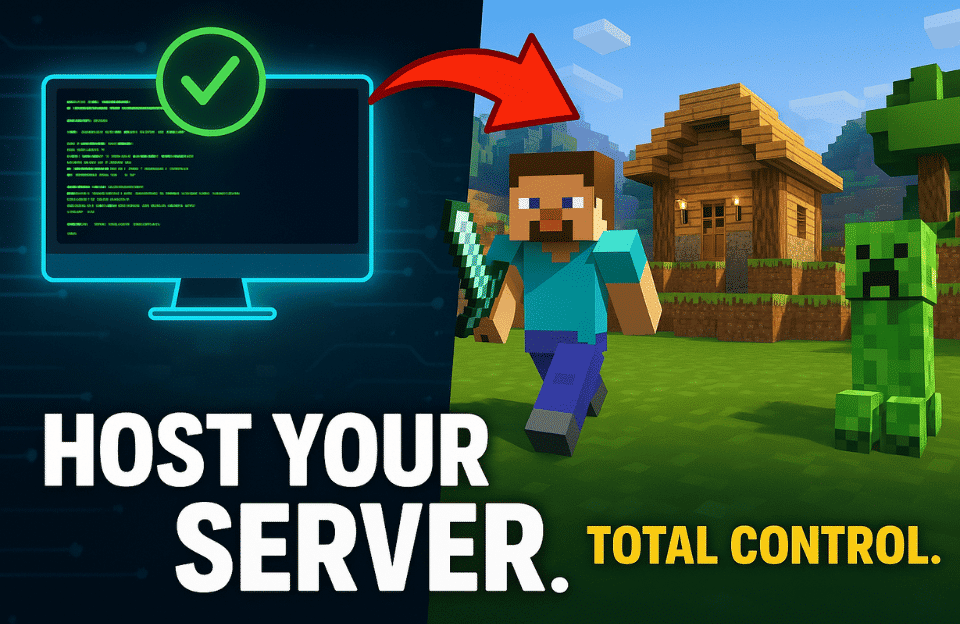
For your gaming experience, creating a private game server on your desktop may be a game-changer. Picture playing your preferred games with friends, setting everything yourself, and having complete control over the play. This tutorial will get you started whether you enjoy Minecraft, ARK: Survival Evolved, or Counter-Strike: Global Offensive. We should start straight away.
Table of Contents
Why do you need to run your game server?
One could ask, “Why should I even bother running my server?” Here are several excellent ones:
– Full Control: From game rules to mods and updates, you control everything. Your server, your policies prevail!
Customization: Personalize the gaming experience to match those of your buddies and your own preferences. Want to play in Creative Mode? Go for it!
– Better Performance: Dedicated servers often run smoother than public ones, which means less lag and more fun.
Build a Neighborhood: Design sure friends have room to congregate and play whenever. It’s like running your personal gaming team!
What should you have to start?
Before you start the arrangement, be sure you have several things ready:
1. Great desktop.
Your computer should be in line with the specifications of the game. Examine the specifications to verify the system performs the game smoothly.
2. An Internet Connection Shall Be Trusted_LANGUAGE_Adjustment_END
A steady and quick internet link is absolutely necessary. To keep lag under control, a wired link is typically preferable to Wi-Fi.
3. Firewall and Router Access
Your server could be set to handle outside connections if you adjust your router and firewall settings.
4: Game Server Software.
Get the server software for the video game you want to host. On their official pages, many games have specialized server software.
step-by-step instructions for establishing your game server
Step 1 is the download of the Game Server Software.
1. Choose Your Game: Suppose you want to organize Minecraft. Lots of people like this option!
two.
2. Download the server software:
– Proceed to the official Minecraft page.
– Download the server jar file.
3. Create a folder
Create a fresh folder on your desktop titled “Minecraft Server” (or whatever game you select).
4. Store the server file:
Transfer the downloaded .jar file to this directory.
Step 2: Organize Your Game Server
1. Run the server file :
In the folder with your server file, launch a command prompt or terminal.
Replace `server.jar’ with the name of your file and use the order `java -Xmx1024M -Xms1024M -jar server.jar nogui`.
2. EULA acceptance:
Once you start the server for the first time, a document labelled `eula.txt` will show. Accept the agreement by openning it and changing `eula=false` to `eula=true`.
3. Change the server properties:
Launch the `server.properties` file using text editor. You may switch player constraints, game modes, and other parameters from here.
Step 3: Define port forwardrettongtam
Your friends will be able to reach your server if you set up port forwarding on your router.
1. Have access to your router:
Open a web browser and type in your router’s IP address (usually 192.668.1.1 or 192.668.0.1).
Log in with your credentials—if in doubt, consult your router manual.
2. Find out about port forwarding.
Look in a section dedicated to “Port Forwarding” or a “Virtual Server.”
3.Create a fresh rule
Complete the details in this way:
Service Name: Disable “Minecraft Server,” Choose a Name.
Port Range: For Minecraft, the port number to be used is 25565.
Local IP: Your desktop’s local IP address is determined by running `ipconfig` in terminal; please input it.
Protocol: Choose TC/UDP or both.
4. Save your settings: save the changes and reboot your router whether needed.
Step 4. Change your firewall setting;
Your computer could stop incoming contacts to your server via firefall.
1. Open Windows Defender Intelligent Security Service:
Type “Windows Defender Firewall” in the start menu and then launch it.
2. Allow an app via a firewall.
Click “Allow a program or feature via Windows Defender Firewall.
Navigate to “Change Settings” and thereafter “Allow another app.
3. Publicly sharing your game server
Include the server executable file by browsing to enable access to both public and private networks.
Step 5: Start your game server.
1. Reboot the server.
Run once more the server file from your command line or terminal. This should not result in any difficulties this time.
2. Confirm Servers Status:
Check the console results to see whether your server is functioning})
Step 6: Linking with Your Game Server
1. Open your game client on your desktop, get the game started.
2. Add Server: Down the multiplayer tab look for “Add Server.”
3. Share Server Information:
Add your public Internet Protocol address (search Google for “what is my IP”) and your port number (e.g., 25565 for Minecraft).
4. Join the Server: Click “Join Server” and enjoy playing!
Looking into promotions for game hosting Plesk alternatives.
If you are considering more advanced hosting possibilities, searching for Plesk alternatives might be beneficial. Programs like aaPanel, Webmin, or cPanel simplify managing several game servers. Their intuitive interfaces streamline the operation, therefore allowing you to play more and little on technical problems. Additionally, a good hosting control panel can streamline your server management.
Good Advice on Running Your Game Server:
Regularly back up your server files to avoid any work damage.
Be on the lookout for performance; monitor server activity and connected player count to ensure everyone is having fun.
Continuous updates can keep security robust and let you use latest features
Setting up a private game server on your desktop can take your gaming experience to the next level. By following this friendly guide, you can create a customized environment that suits your style and connects you with friends. Whether you’re hosting Minecraft or any other game, having your own server means you’re in control. Happy gaming, and may your adventures be epic!